Creating, Editing, and Deleting a Payment Record Against an Bill
The Finance module can add payments against an invoice or bill. This allows you track how much is still owed against each of those items. To create a payment record against an invoice follow the steps below.
Creating a Payment Item
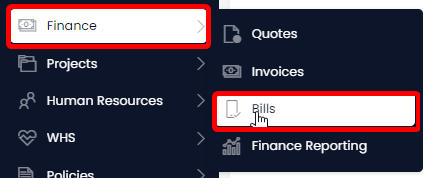
- Navigate to Finance > Bills
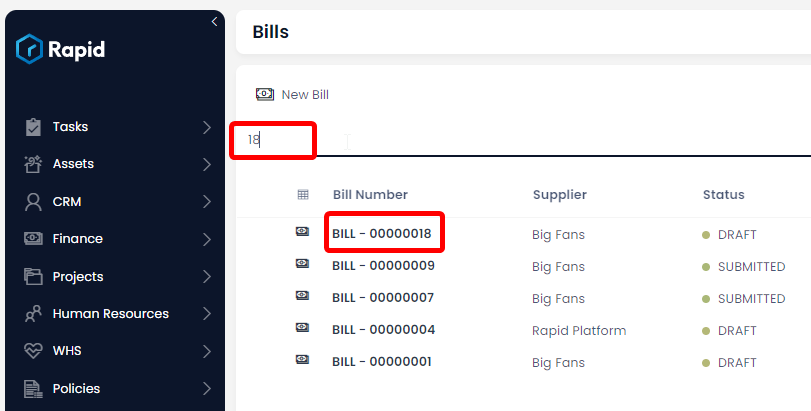
- Locate the Bill you wish to add a payment against either by scrolling through the list or using the search bar.
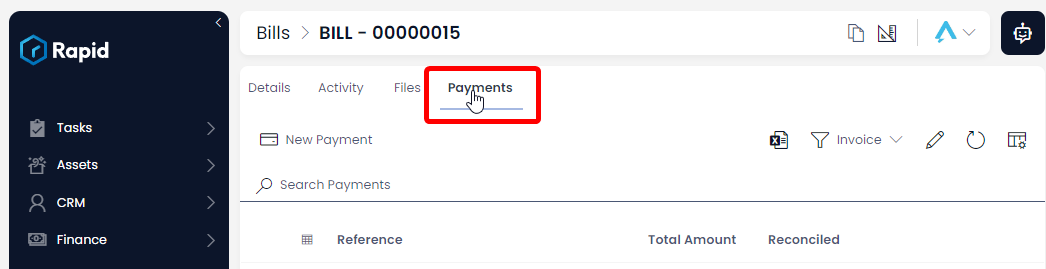
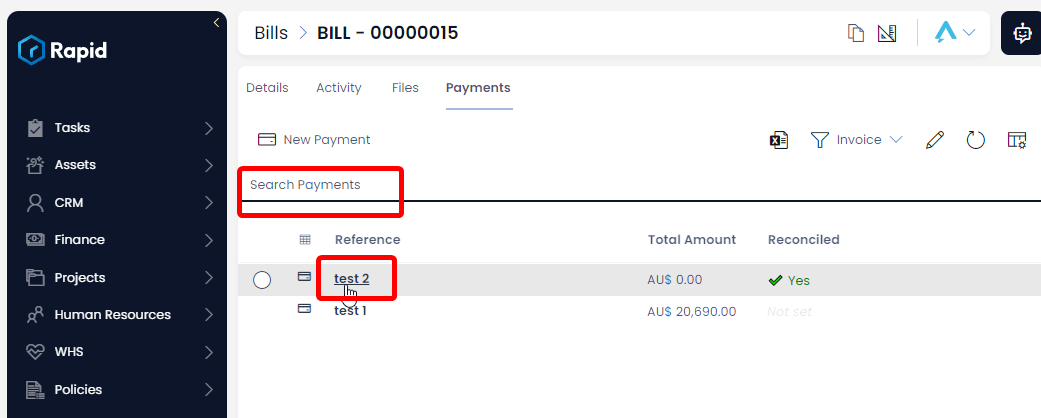
- Click on the Payments tab
- Click on New Payment
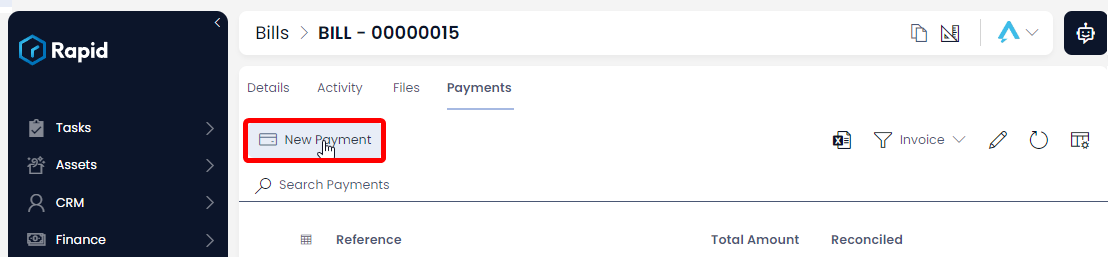
- Enter all relevant details
Required Fields
The following fields are required: Date and Total Amount Due
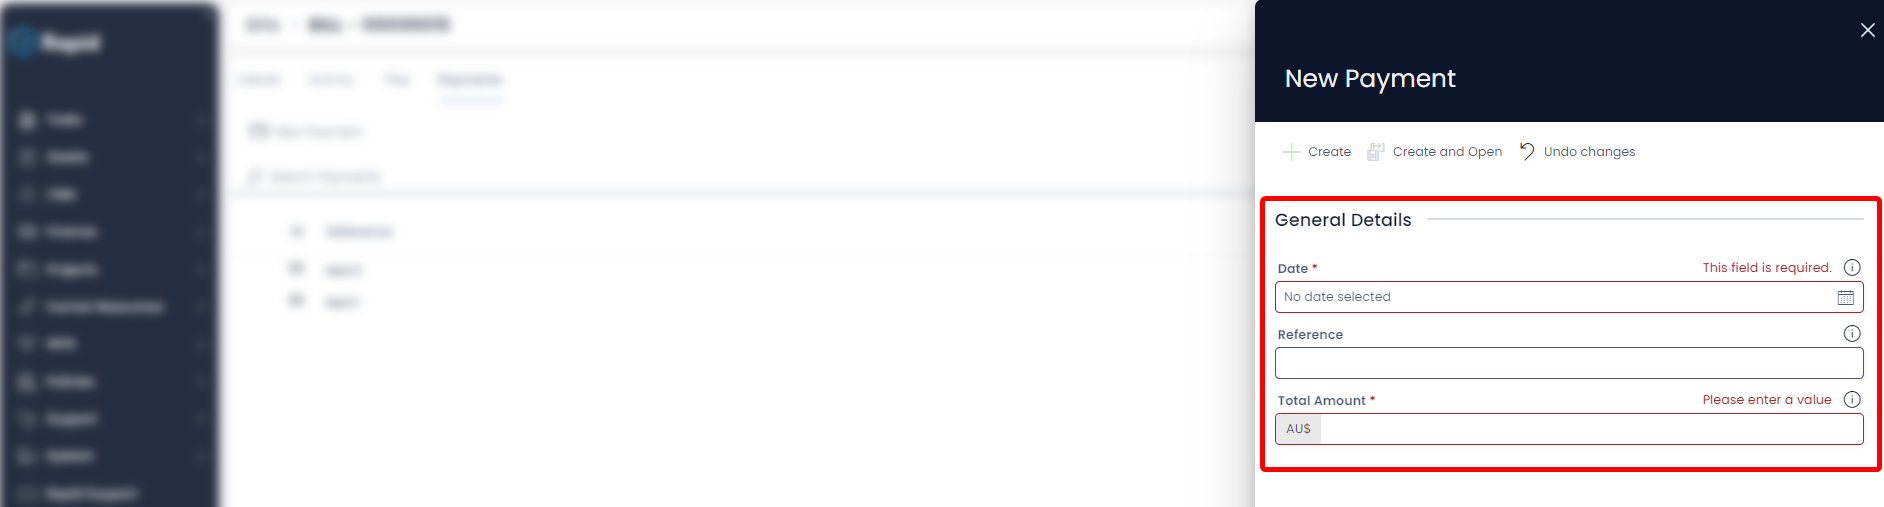
- Click on Create or Create and Open
Editing a Payment Item
- Navigate to the Finance > Bills
- Locate the bill you wish to add a payment against either by scrolling through the list or using the search bar.
- Click on the Payments tab
- Find and open the payment you wish to edit
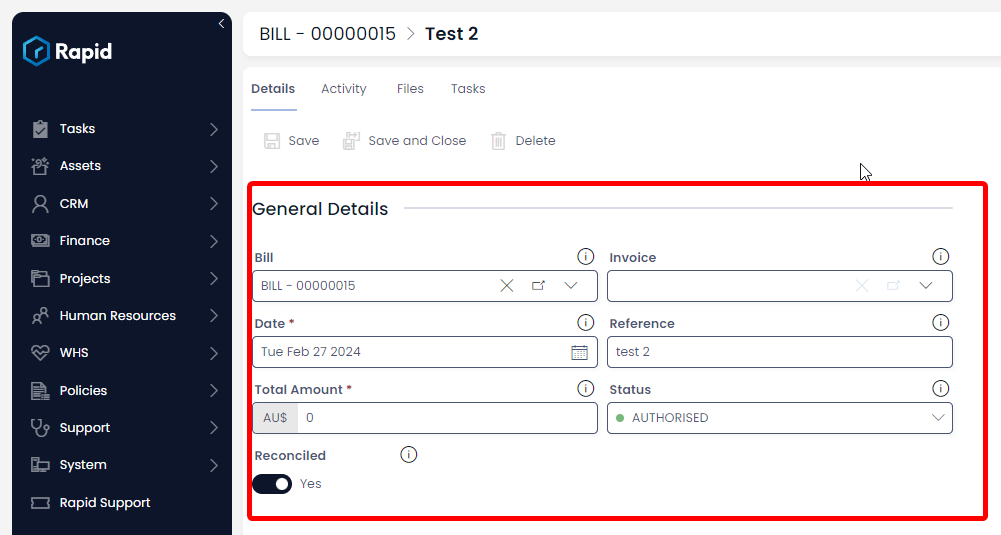
- Edit any relevant fields on the payment page as needed
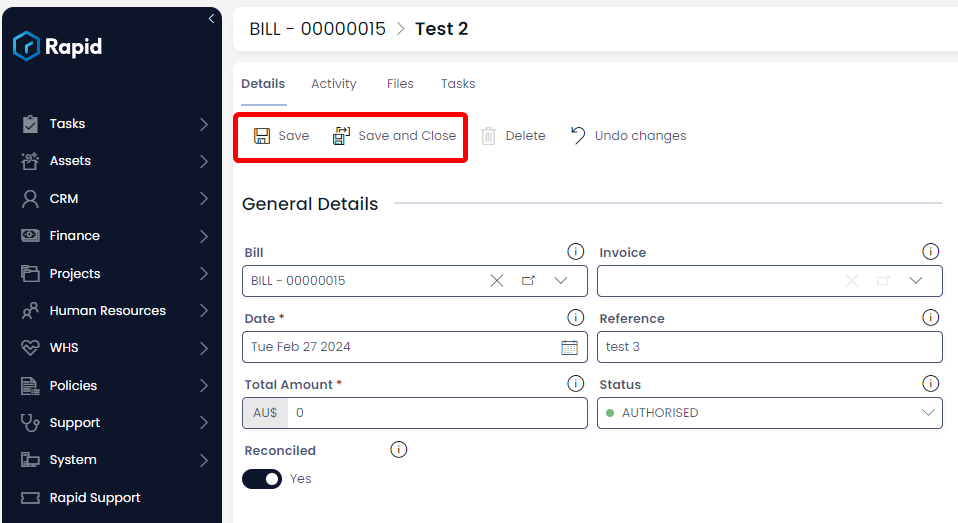
- Once finished editing press Save or Save & Close
Deleting a Payment Item
Deleting a payment works differently than deleting other items in Rapid as we only offer the ability to “soft” delete these items. This means the record is retained in the system but the status is changed to DELETED. Follow the steps below to do so.
- Navigate to the Finance > Bills
- Locate the bill you wish to add a payment against either by scrolling through the list or using the search bar.
- Click on the Payments tab
- Find and open the payment you wish to Delete
- Change the status of the payment to DELETED
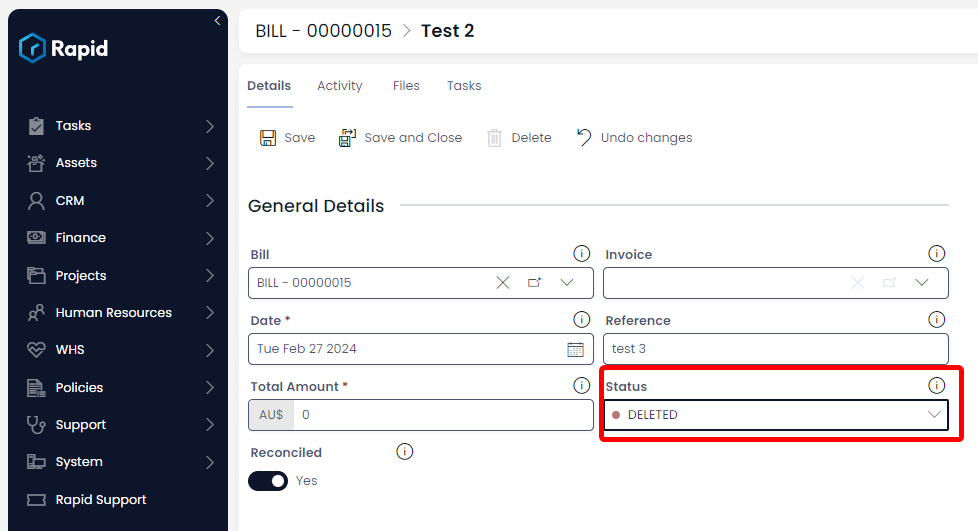
- Once finished editing press Save or Save & Close